A flawless wig install starts long before the baby hairs and lace melt — it begins with the foundation. And the key to that smooth, scalp-like finish is one simple but powerful tool: the hot comb.
Whether you're installing a closure or frontal, using a hot comb correctly can take your wig from “nice” to undetectably natural. Here’s your complete guide to getting a super flat, sleek, salon-level install at home.
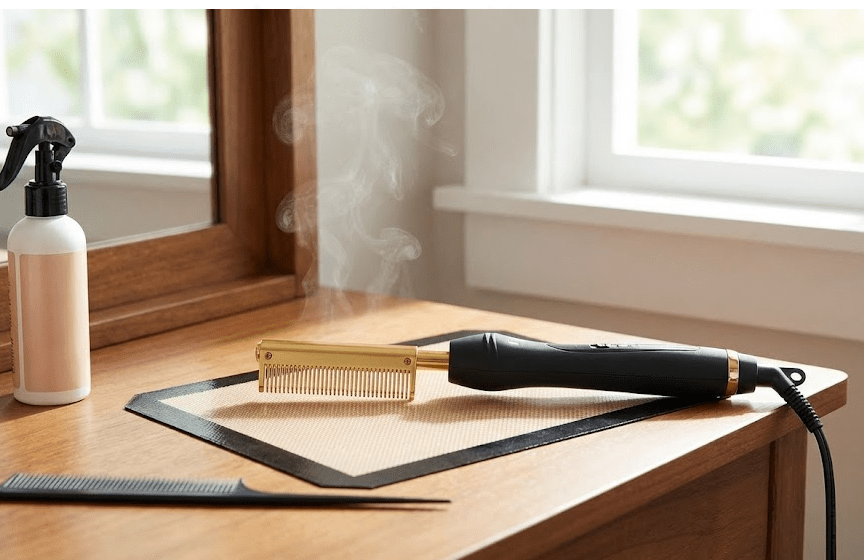
✨ Why a Hot Comb Is Essential for Wig Installs
A hot comb does what regular styling tools can't:
-
Presses down the root for a flatter appearance
-
Helps define your part
-
Lays flyaways and bulky sections
-
Blends the wig into your natural hair
-
Makes the install look smoother and more natural
If your wig ever looks “puffy” or you can see the tracks at the top, that’s a sign you need your hot comb.
Step-by-Step: How to Get a Super Flat Install
1. Start With a Flat Base
Your wig can only be as flat as your foundation.
For Natural Hair:
-
Braid straight back cornrows
-
Keep them small and tight
-
Moisturize lightly so hair doesn't frizz under the wig
For Short Hair:
A flat foundation prevents the wig from looking bulky at the crown.
2. Apply the Wig and Adjust the Part
Before using heat, position your wig exactly how you want it:
-
Centre or side part
-
Lace aligned with your hairline
-
Combs/bands adjusted for security
This ensures you’re pressing the right areas when you start hot combing.
3. Heat Your Hot Comb Properly
You want high heat — but not scorching.
Ideal temperature:
250–300°F for human hair wigs
(Lower for fine textures, higher for kinky/curly textures)
Never use a hot comb on synthetic wigs unless it is labelled heat-safe.
4. Use Wax Stick or Lightweight Serum
Before pressing, apply a small amount of wax stick or silkening serum along the parting and crown.
This helps:
-
Lay flyaways
-
Add shine
-
Create that professional, melted look
Less is more — too much product will weigh the hair down.
5. Press the Hot Comb at the Roots
This is the step that makes the magic happen.
How to do it:
-
Hold hair taut
-
Place the hot comb at the roots, not mid-shaft
-
Press in downward strokes
-
Focus on the crown, part, and hairline
-
Use the back of the hot comb to smooth for a sleek finish
Repeat until the wig lies perfectly flat.
6. Define and Set the Part
Run the hot comb directly along your parting line.
This:
-
Sharpens the part
-
Flattens bulky knots
-
Gives that crisp, “fresh install” look
You can place a warm pressing comb or flat iron along the part with light pressure for a few seconds to lock it in.
7. Lay the Hairline
Once the top is flat, you can:
-
Style your baby hairs
-
Press the front lightly for smoothness
-
Add mousse to set the hairline
This brings the whole look together.
8. Finish With Shine Mist (Optional)
A small spritz of shine spray gives:
-
A polished finish
-
A sleek, silky look
-
Extra smoothness
Avoid heavy oils — they can make the wig look greasy.
✨ Tips for a Super Flat Install Every Time
-
Use thin, clean cornrows under your wig
-
Part the wig before applying heat
-
Press the wig while it’s on your head for accuracy
-
Use a wax stick only at the roots
-
Don’t forget the back of your hot comb — it gives a smooth finish
-
Keep pressure light to avoid burning the lace
-
Always start on lower heat and increase gradually
✨ Common Mistakes to Avoid
❌ Using high heat on synthetic wigs
❌ Pressing too close to the lace and burning it
❌ Applying too much wax stick
❌ Skipping the foundation braids
❌ Pressing the mid-shaft instead of the roots
❌ Not cleaning your hot comb regularly
✨ Final Thoughts
A hot comb is one of the most essential tools for achieving a super flat, flawless install. When used correctly, it transforms your wig from bulky to beautifully sleek — giving you that salon-quality finish right at home.
Whether you're a beginner or a wig expert, mastering the hot comb will instantly elevate every install you do.