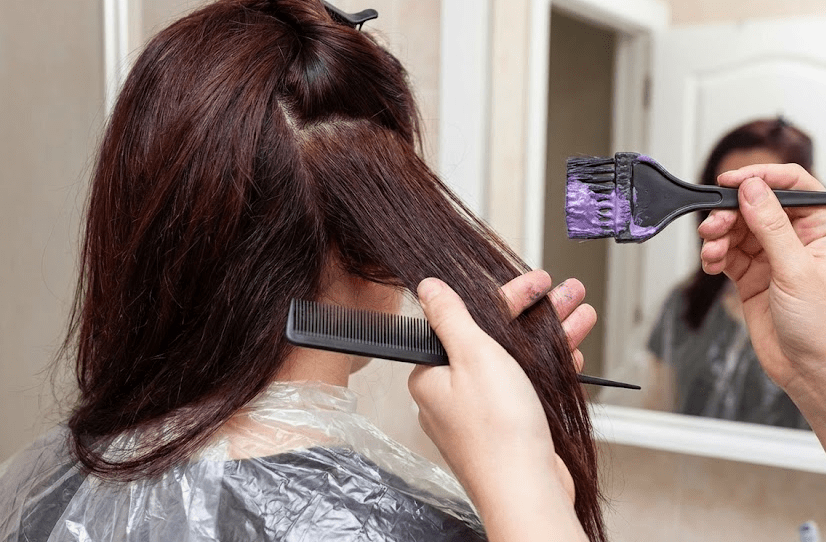
Whether you’re colouring your hair at home or headed to a stylist, prepping your hair properly before dyeing is one of the most important steps for getting vibrant, even, long-lasting colour.
If you’ve ever dealt with patchy colour, fading, or dryness after dyeing… your prep routine might be the reason.
Here’s the ultimate guide — including what to do, what to avoid, and how to get your hair ready for a flawless colour result.
✨ Why Prepping Matters
Hair dye sticks best to hair that is:
-
Clean but not freshly washed
-
Moisturized but not oily
-
Smooth but not coated with heavy products
-
Strong and healthy enough to handle chemicals
Proper prep = brighter colour, less damage, and long-lasting results.
✔️ DO: Start With Healthy Hair
Dye always looks better on strong, healthy hair.
Ways to strengthen hair before dyeing:
-
Deep condition 1–2 times in the week before
-
Reduce heat styling
-
Trim dead ends
-
Use leave-in conditioners for moisture
Healthy hair absorbs colour evenly and resists breakage.
❌ DON’T: Dye Extremely Dry or Damaged Hair
Damaged hair:
-
Absorbs colour unevenly
-
Becomes patchy or too dark
-
Breaks easily during the process
If your hair is severely damaged, spend 2–3 weeks treating it before colouring.
✔️ DO: Wash Your Hair 24–48 Hours Before Dyeing
Not same-day — but not too long before either.
Why?
-
A little natural oil protects your scalp
-
Hair isn’t weighed down by fresh conditioner
-
Dye sticks better to slightly “lived-in” hair
This timing gives the perfect balance.
❌ DON’T: Use Heavy Oils or Butters Before Dyeing
Avoid these 48 hours before:
-
Shea butter
-
Castor oil
-
Coconut oil
-
Heavy leave-ins
They coat your hair and block colour from absorbing.
✔️ DO: Detangle Your Hair Well
Knots prevent dye from spreading evenly.
Before dyeing:
-
Detangle from ends to roots
-
Use a wide-tooth comb
-
Make sure hair can separate smoothly
This ensures no patchy areas after rinsing.
❌ DON’T: Scratch Your Scalp Before Dyeing
Scratching creates micro-cuts that make dye:
-
Burn
-
Irritate your skin
Leave your scalp alone 24–48 hours before colouring.
✔️ DO: Do a Strand Test
Especially if it’s your first time using:
-
A new shade
-
A new brand
-
Bleach
-
Fashion colours
A strand test saves you from:
-
Going too dark
-
Ending up orange
-
Unexpected tones
It shows you exactly what your final colour will look like.
❌ DON’T: Apply Dye to Greasy, Product-Loaded Hair
Build up weakens the dye’s ability to grab onto your strands.
Avoid applying dye if your hair has:
-
Gel
-
Edge control
-
Oils
-
Silicone-heavy products
-
Dry shampoo build up
Clarify your hair a day before for best results.
✔️ DO: Protect Your Hairline and Ears
Use a thin layer of petroleum jelly or conditioner around:
-
Hairline
-
Neck
-
Ears
This stops dye from staining your skin.
❌ DON’T: Forget to Protect Your Clothes and Surfaces
Dye stains everything!
Use:
-
Old towels
-
Gloves
-
A cape or oversized T-shirt
Keep your workspace mess-free.
✨ Final Checklist Before Dyeing
Here’s your quick pre-colour routine:
✔ Washed hair 24–48 hours before
✔ No heavy oils or butters
✔ Detangled thoroughly
✔ Scalp left untouched
✔ Hair sectioned and ready
✔ Skin protected
✔ Strand test done
✔ Patch test done
✨ Final Thoughts
Prepping your hair before dyeing isn’t complicated — but skipping these steps can ruin your colour. With the right prep routine, you’ll get:
-
More vibrant colour
-
Longer-lasting results
-
Healthier hair
-
Fewer surprises
-
Less breakage
Whether you're doing a subtle refresh or a full transformation, prepping properly is the key to beautiful, even, salon-quality colour at home.